We deliver friendly, professional attention to all Door Handle Installation requests with a smile!
This site offers clear and comprehensive information about door handle installation, providing clients with a thorough understanding of the process and available options. It aims to guide users through each step, ensuring they are well-informed to make confident decisions and choose the best solutions for their needs.
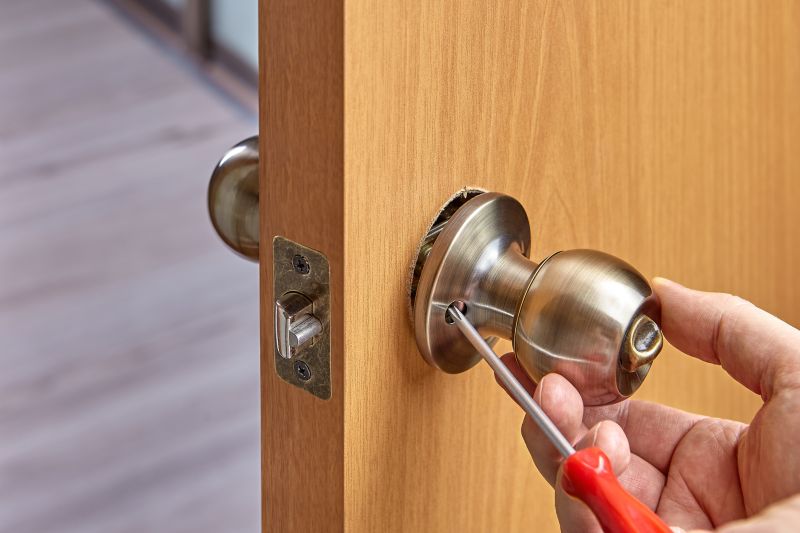
Use the right screwdriver and possibly a drill to ensure a secure and precise door handle installation.
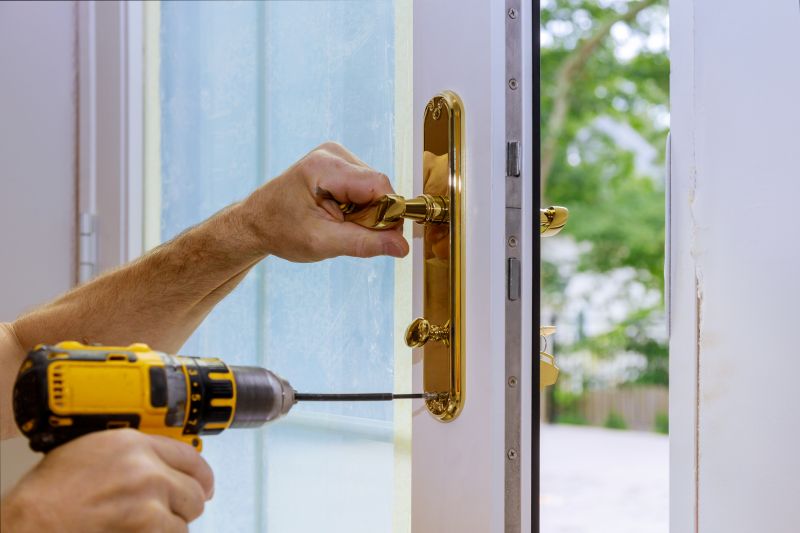
Carefully position the handle and latch mechanism before securing to ensure smooth operation.
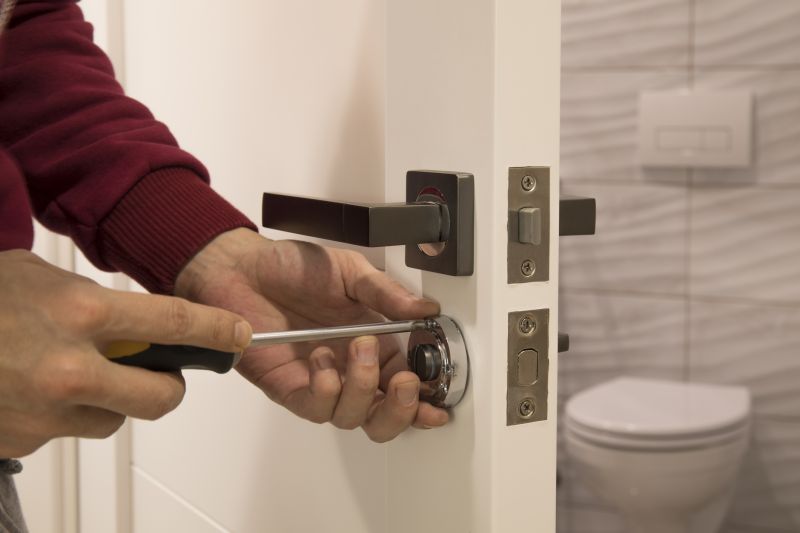
Test the handle for proper function and tighten all screws to prevent loosening over time.
- - Gather Tools - Ensure you have a screwdriver, drill, and screws ready before starting.
- - Remove Old Handle - Carefully detach the existing handle and hardware if present.
- - Align Components - Position the new handle and latch mechanism accurately on the door.
- - Secure Hardware - Tighten screws evenly to ensure the handle is firmly attached.
- - Test Operation - Check that the handle opens and locks smoothly without obstruction.
Door handle installation work generally involves removing the existing handle if present, preparing the door surface, and fitting the new handle assembly securely, ensuring proper alignment and functionality. This process may include drilling or enlarging holes, attaching hardware with screws or other fasteners, and testing the handle for smooth operation. When evaluating requests, details such as the type of door (interior or exterior), the specific handle design, compatibility with existing hardware, and any necessary adjustments or additional hardware are important considerations to ensure proper fit and performance.
Share your project details today, and we’ll connect you fast.